Renders you can achieve with Ultraforge


Generate your first image step by step
Here is a brief guide on generating your first image in Ultraforge:
- Install Ultraforge 1.0 from our website and run it from the Windows Start menu.
- By default, Ultraforge opens the SD 1.5 Text to Image node on startup. If you want to invoke it manually, right-click the canvas, select Nodes... > SD > SD 1.5 > SD 1.5 Text to Image.
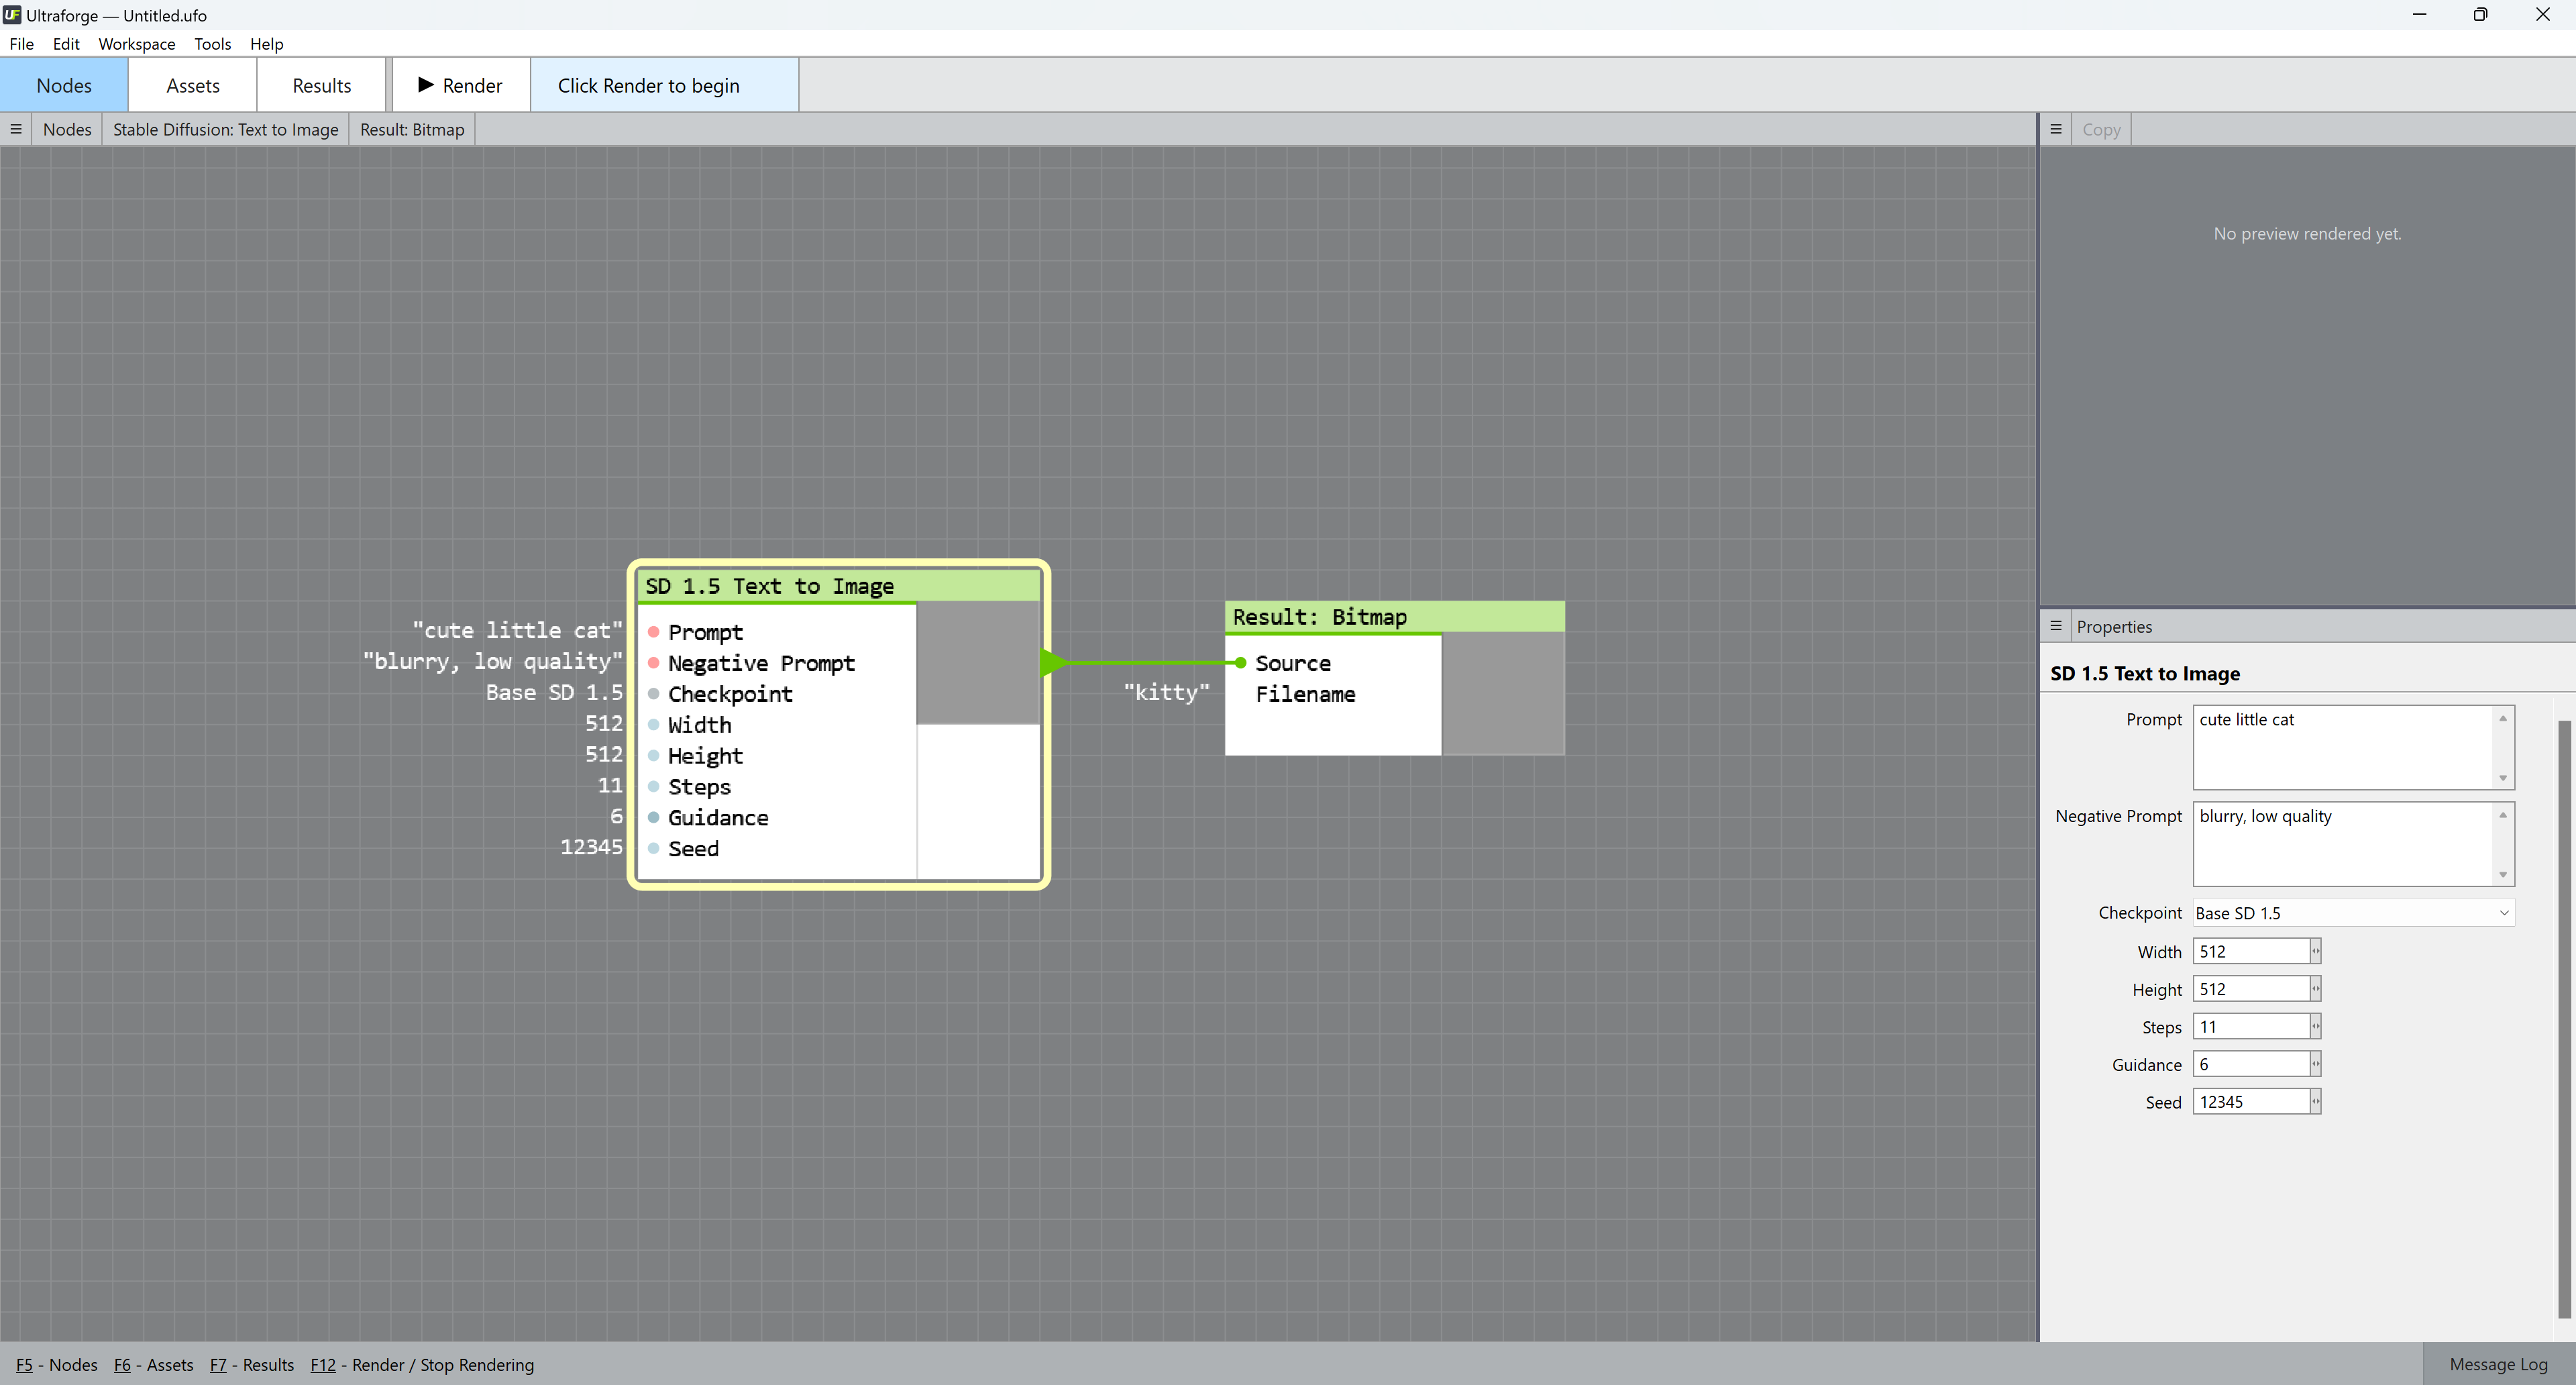
- Fill in your image description — known as "prompt" — in the Prompt field on the right. A good prompt is detailed and precise, for example "happy family of three enjoying a picnic in the park, bright weather, vivid colors, photorealistic style, intricate details." This prompt is specific about the subject matter, setting, and mood of the image. Too general or abstract prompts, like "An image of nature", perform poorly — this example is too broad and lacks specificity about the type of nature or mood of the image. For your first generated image, type in "meal, perfect lighting, super detailed".
- Fill in the characteristics you don't want your image to have in the Negative prompt field. Examples could be "blurry", "gloomy", or "anime". For your first image, type in "blurry".
- Set your image width and height. We recommend you start with 512x512 for your first generated image.
- To replicate the result in this guide, set Steps to 22, Guidance to 5.5, and Seed to 2036404469.
- Select the Result: Bitmap node.
- Change the default image file name "kitty" to "meal".
- Click the Render button or press F12 to start rendering.
- Switch to the Results tab at the top panel:
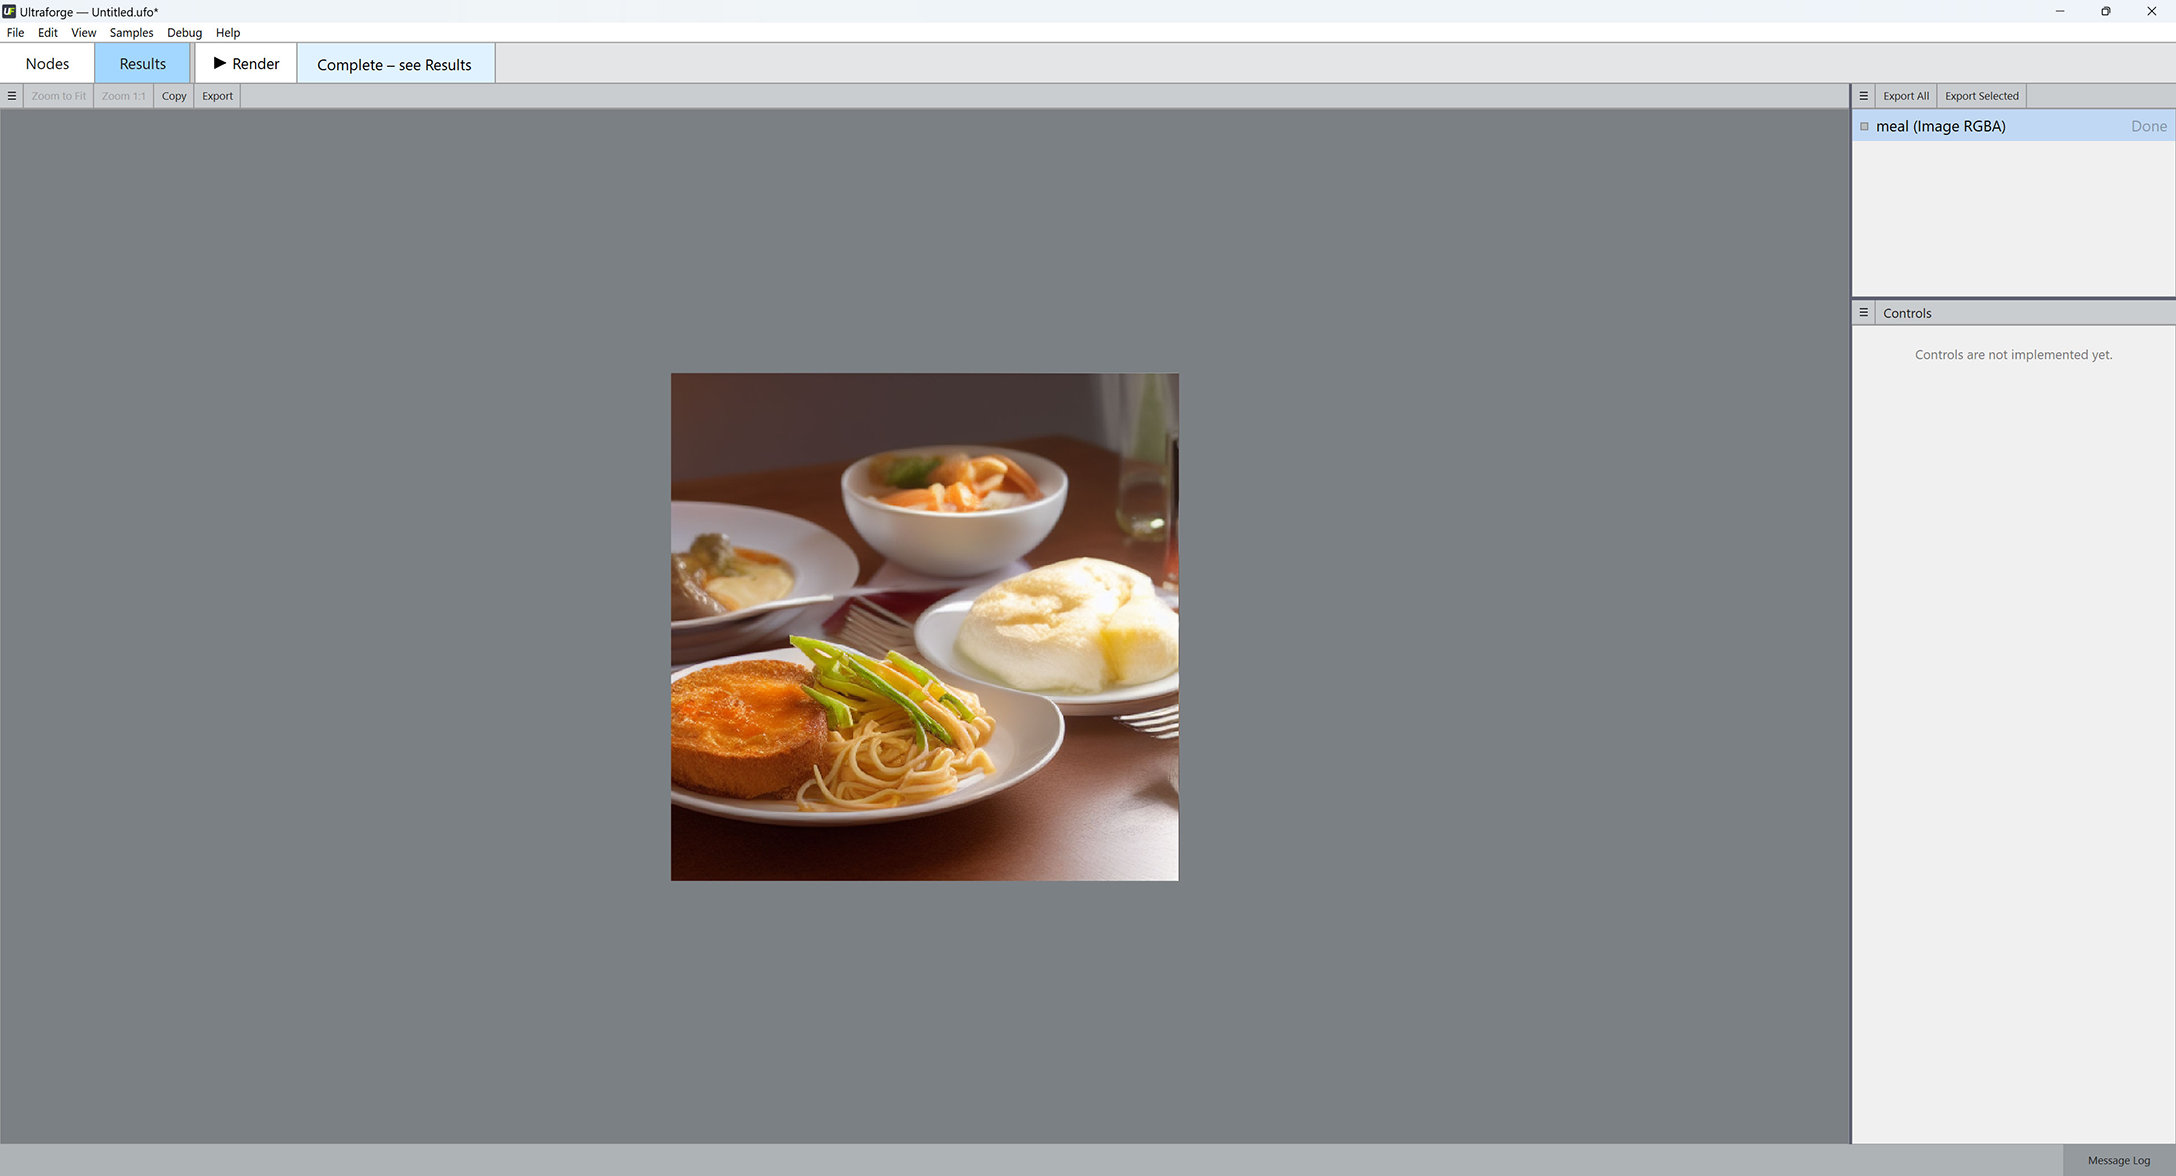
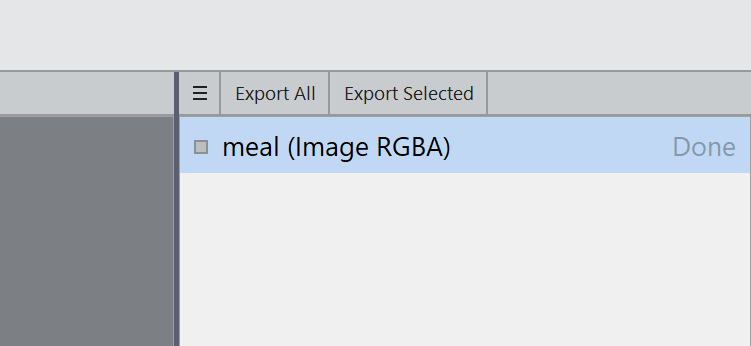
- Click "meal (Image RGBA) — Done" in the right panel:
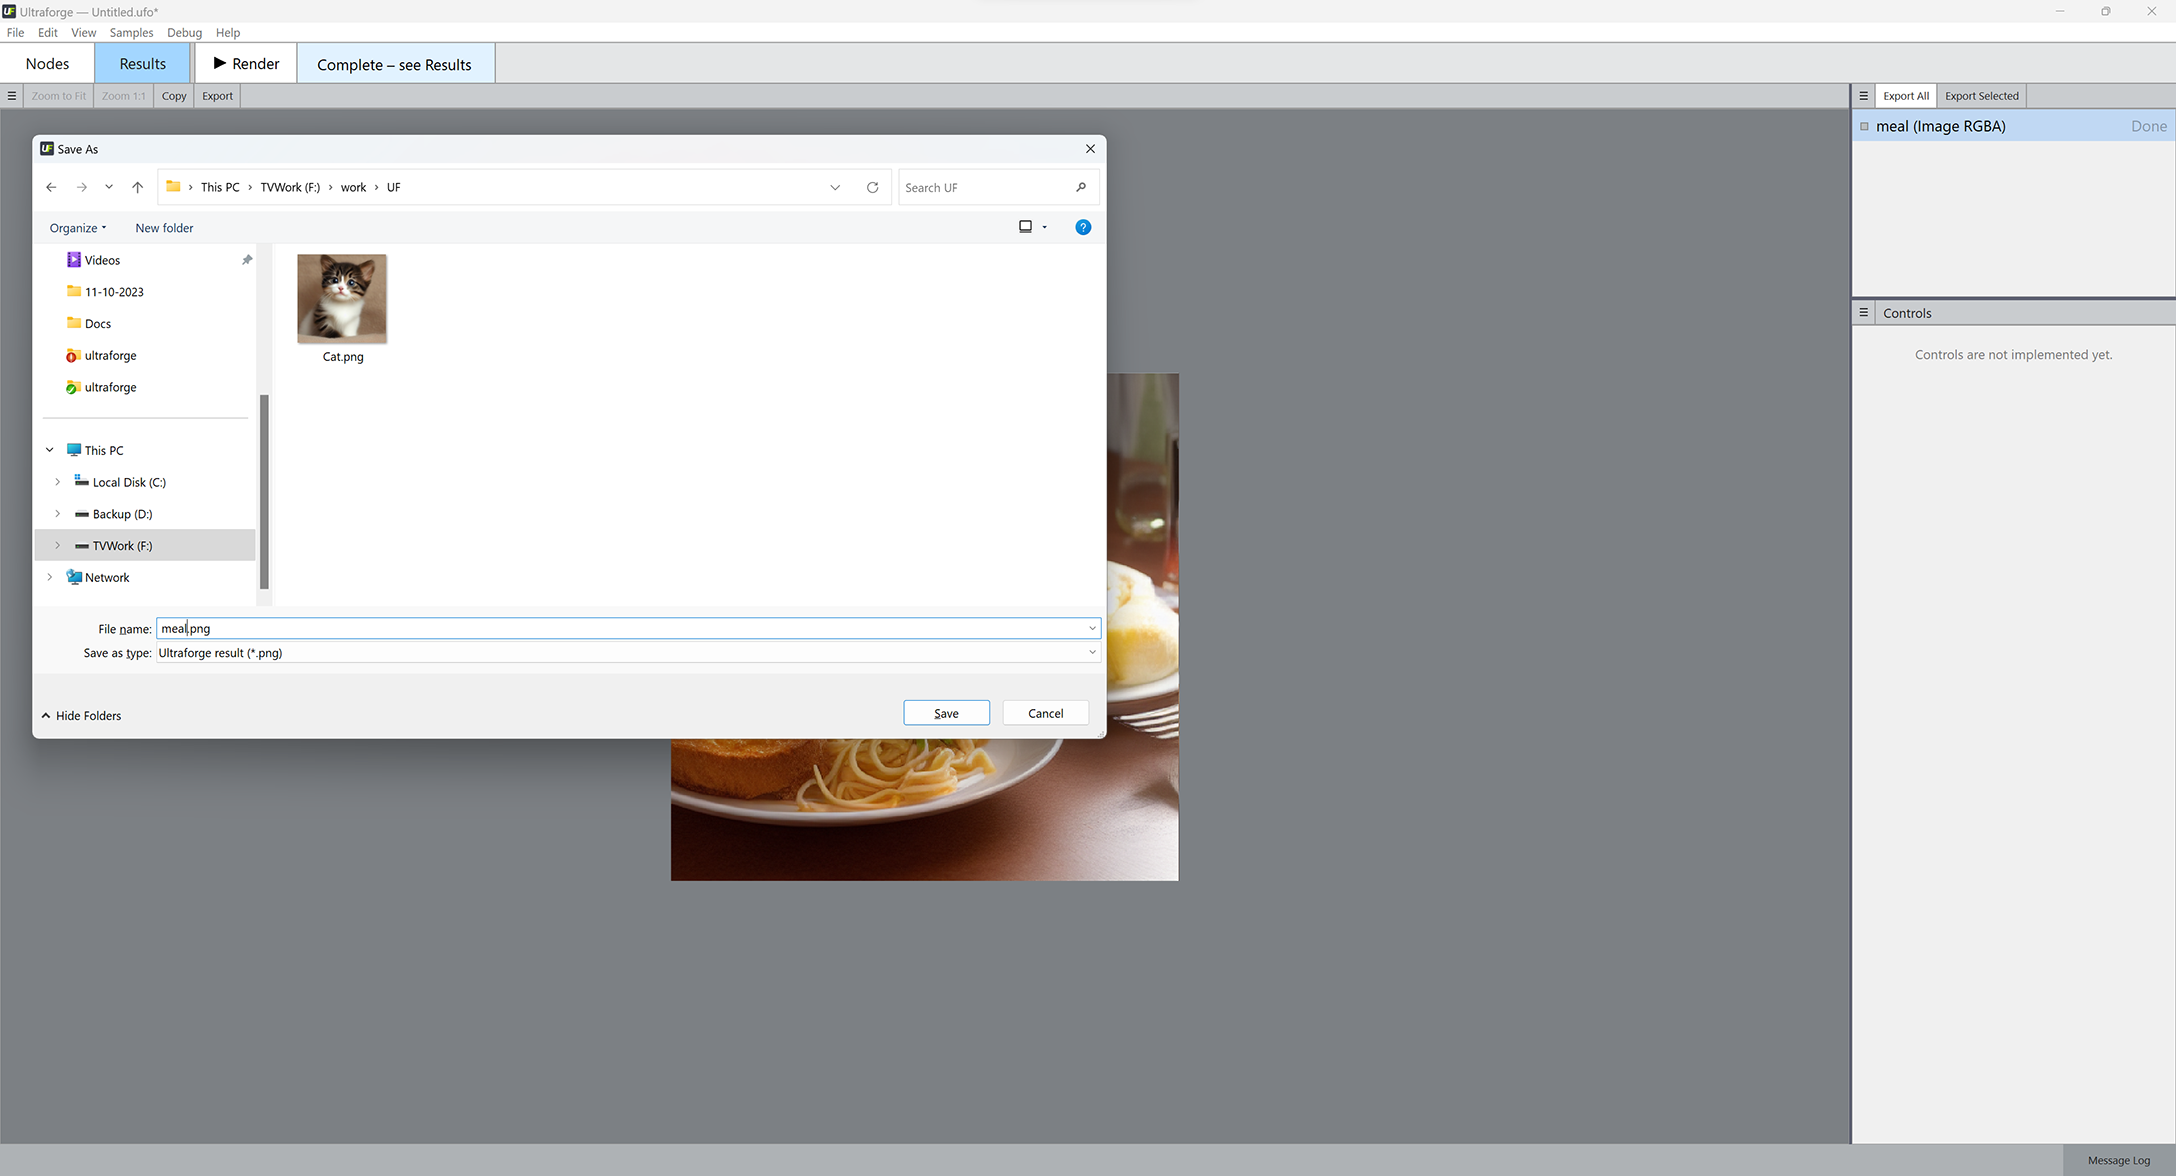
- Your rendered image will be displayed. Click Export All and browse for the location to save your rendered image to.


Congratulations on rendering your first image!
Hundreds of custom checkpoints to improve image quality
The Stable Diffusion AI with its default settings is a jack of all trades and a master of none. More specific datasets known as checkpoints are intended for generating a particular genre of images, can produce much better results and are freely available on the Internet. Here is how to install a custom checkpoint into Ultraforge.
- Obtain a checkpoint file in the .safetensors format and copy it into the C:\Ultraforge\SD 1.5 Extras\Checkpoints\ folder.
- Run Ultraforge — it will detect a new checkpoint and prompt you to load it. Note: you may need to wait a bit while Ultraforge is unpacking the checkpoint before the first use.
- Run Ultraforge and bring up the SD 1.5 Text to Image node.
- Select the checkpoint name from the Checkpoint dropdown list.
What you can achieve with custom checkpoints
In the examples below the first image was generated using the default Stable Diffusion 1.5 model that ships with Ultraforge, while the second image uses the same prompt and settings but a different checkpoint — epiCRealism.


Prompt: red-haired girl curly hair natural skin freckles pimples winter clothes hat with fur pompom natural light. Negative prompt: blurry. Width: 512. Height: 512. Steps: 25. Guidance: 5.5. Seed: 2036388.


Prompt: old man gray-haired India traditional clothing turban oriental bazaar natural light. Negative prompt: blurry. Width: 512. Height: 512. Steps: 25. Guidance: 5.5. Seed: 2036416.
Here is a comparison of the base Stable Diffusion 1.5 with three other checkpoints using the same settings.


Prompt: face of a young girl, smile, blond hair, short hairstyle, natural skin, natural lighting, super resolution. Negative prompt: blurry, low quality, anime. Width: 512. Height: 512. Steps: 25. Guidance: 6. Seed: 100000.


Prompt: cowboy, high quality. Negative prompt: blurry, low quality. Width: 512. Height: 512. Steps: 26. Guidance: 6. Seed: 223456.


Prompt: children bedroom, toys on the floor, high quality. Negative prompt: blurry, low quality. Width: 512. Height: 512. Steps: 26. Guidance: 6. Seed: 2147483647.


Prompt: African American doctor, medical uniform, hospital, high quality. Negative prompt: blurry, low quality. Width: 512. Height: 512. Steps: 26. Guidance: 6. Seed: 2252345.


Prompt: fairy tale, book illustration, high quality. Negative prompt: blurry, low quality. Width: 512. Height: 512. Steps: 11. Guidance: 6. Seed: 123456.
Stable Diffusion upscalers
Upscaler is an AI-powered tool that can enhance the quality of low-resolution images and resize a smaller image without losing quality. Traditional upscaling methods rely on simple interpolation techniques to increase the size of an image without adding any additional detail which results in blurry and pixelated images. AI image upscalers, on the other hand, use machine learning to analyze image details, producing a more accurate and visually appealing result. This makes AI upscalers a valuable tool for artists, photographers, and designers who want to maintain the quality of their images while increasing their size.
Ultraforge offers two upscaler modes: RRDBNET and SRFormer. RRDBNET offers simpler and faster results without consuming extra memory, while SRFormer is more memory demanding but produces higher-quality results. Both RRDBNET and SRFormer increase the source image dimensions by 4, so a 512x512 source image processed by an upscaler will give you a 2048x2048 result.
340x340 px

1360x1360 px, RRDBNET

1360x1360 px, SRFormer

Using upscalers in Ultraforge
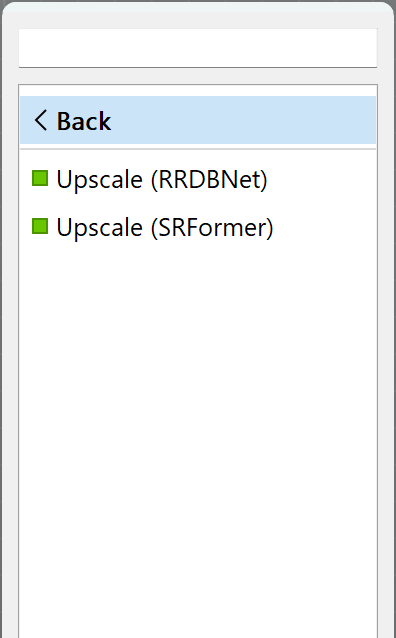
- Right-click on the canvas and select Bitmaps > Upscalers from the dropdown menu.
- Pick out either RRDBNet or SRFormer.
- Insert your chosen upscaler node between an image node and Result:Bitmap:
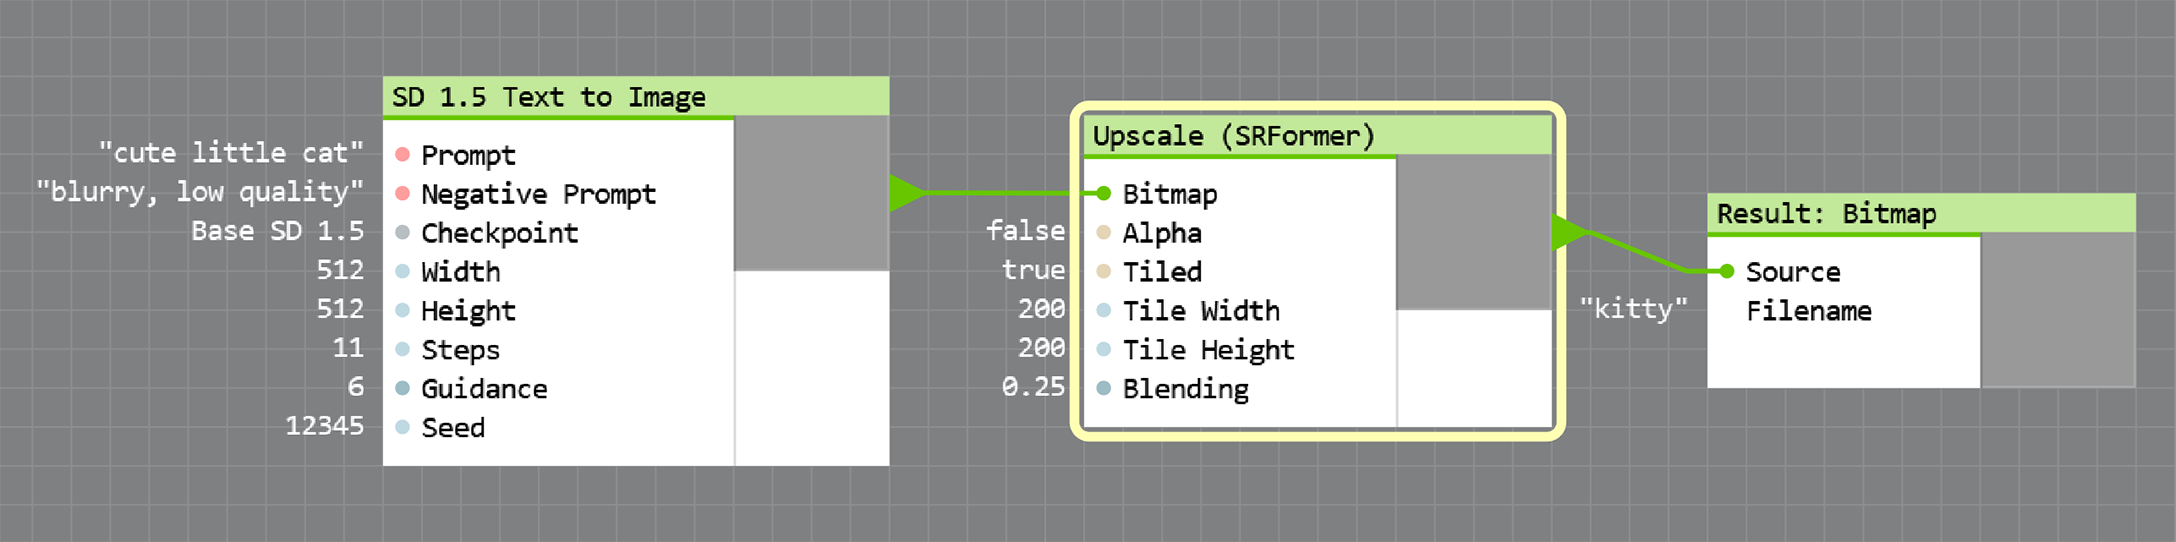
The Tiled checkbox and the corresponding Tile Width, Tile Height and Blending fields control tiled upscaling — a technique that allows you to upscale images of any size even on low amounts of VRAM. In most cases, upscaling works fine with the default settings, however low-end GPUs may require lower parameter values, while more powerful GPUs with lots of VRAM will work faster with higher values of Tile Width and Tile Height.


Stable Diffusion Image to Image
Image to Image is a Stable Diffusion feature that allows you to transform an image into another image with a different style. For instance, you can convert a daytime image into a nighttime image, or transform a selfie into an anime character.
Ultraforge offers a separate Image to Image node with a number of parameters. The most important is Denoising that accepts values from 0 to 1. When Denoising is set to 0, the source image is not changed; when set to 1, Stable Diffusion generates a completely new image that doesn't resemble the original.


And here you can see an example of using Image to Image component combined with text prompts to get different styles of the output image.


Using Image to Image in Ultraforge
- Generate one from scratch using the SD 1.5 Text to Image node.
- Right-click the canvas and select Nodes... > SD > SD 1.5 > SD 1.5 Image to Image.
- Connect your source image to the SD 1.5 Image to Image node.
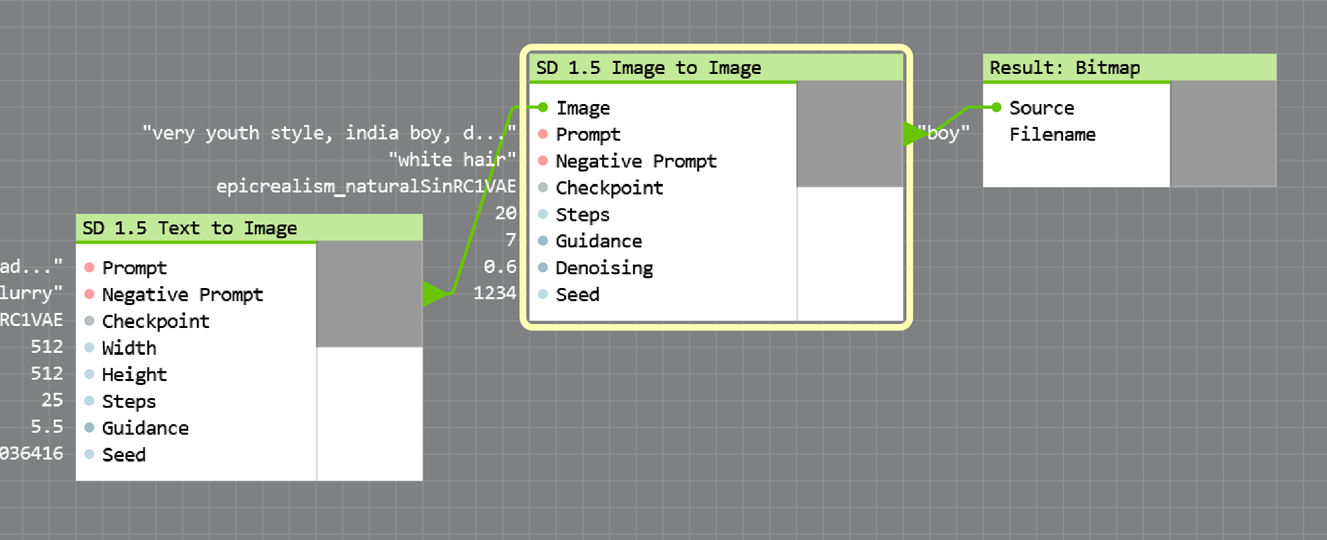
- Select the SD 1.5 Image to Image node on the canvas. Fill in the prompt and the negative prompt — see details in the "Generate your first image step by step" section above.
- Select a custom checkpoint if you want a higher-quality image in a specific style. For details, see the "Hundreds of custom checkpoints to improve image quality" section.
- Set Denoising to a moderate value, for example to 0.2.
- Press F12 to start rendering and switch to the Results tab at the top panel.

Stable Diffusion: Image Size and Content
Keep in mind that content of images generated by Stable Diffusion is affected by all render settings including image size. If you are not satisfied with the result, try increasing (or decreasing) the image width or height by 32 pixels. Here are a few examples that look pretty different — but the only change in settings is the image size.


More variety in combining text prompts with Concat
The Concat component concatenates, or sticks together two text strings. It can bring lots of variety into combining positive and negative text prompts for the Text to Image and Image to Image components. To invoke the Concat component, right-click the canvas and select Programming > String > Concat.
Here is an example of using Concat to generate multiple prompts for Image to Image. All other Image to Image parameters except for the prompt remain the same:


Feel free to open this file in Ultraforge to replicate the results yourself.
Stable Diffusion LoRAs
LoRA, or Low-Rank Adaptation, is a technique used to efficiently fine-tune large pre-trained AI models. It works by reducing the number of trainable parameters, making it easier to adapt massive models to new tasks without the need for extensive retraining. Unlike checkpoints that are essentially complete AI models trained to a particular style, a LoRA adds a particular effect like film grain or neon lights to rendered images. LoRAs are orders of magnitude smaller than checkpoints and usually take from a few MB to a hundred MB of disk space.
There are hundreds of freely available LoRAs — navigate to the CivitAI website and apply filters for LoRA and SD 1.5.
Complexity and quality of the effect produced by a LoRA is defined by its rank — the higher the rank, the more complex the effect is. With 8 GB of available video memory, you will be able to use LoRAs ranked up to 128; more video memory allows for even higher ranks.
Here are a few examples of what you can get with LoRAs:


Installing a custom LoRA into Ultraforge
- Obtain a LoRA file in the .safetensors format and copy it into the C:\Ultraforge\SD 1.5 Extras\LoRA\ folder.
- Run Ultraforge — it will detect a new LoRA and prompt you to load it. Note: you may need to wait a bit while Ultraforge is unpacking the LoRA before the first use.
- Run Ultraforge and bring up the SD 1.5 Text to Image or Image to Image node.
- Add the magic words <lora: your_lora_name> to the prompt in the Prompt field.
Applying multiple LoRAs to a single file
You can define the LoRA weight — similar to Denoising, or effect intensity — when constructing a SD prompt. To use a LoRA named Lora1 at half weight, make a prompt like a cute little cat <lora: Lora1: 0.5>. When set to 1, the LoRA will; be applied at full strength, when set to 0, the effect will be disabled.
You can also apply multiple LoRAs with various weights to a single prompt. Note that all LoRA weight values will be premixed before affecting the rendered image. For instance, a prompt like a cute little cat <lora: Lora1: 0.2> <lora: Lora2: 0.2> will mix Lora1 and Lora2 at equal weights and the mix will affect the resulting image at 20% strength.
A prompt like a cute little cat <lora: Lora1: 0.1> <lora: Lora2: 0.3> will add three times more Lora2 than Lora1 to the mix (25% of Lora1 and 75% of Lora2). The mix will affect the resulting image at 20% strength — the average of 0.1 and 0.3.


Importing Your Images into Ultraforge
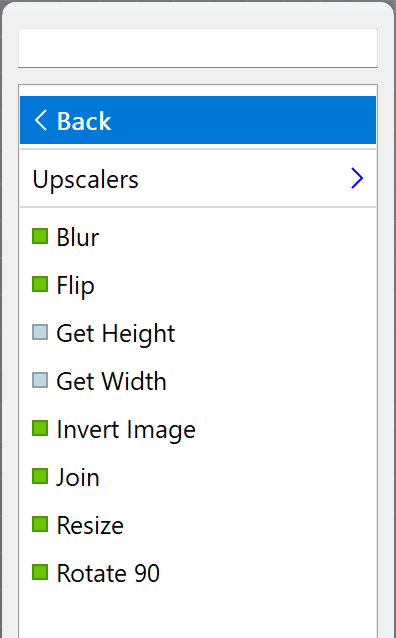
Ultraforge allows you to load your images from disk and process them using the following nodes: SD Image-to-Image, Blur, Flip, Invert Image, Join, Rotate 90, Get Height, Get Width, and Upscale nodes.
To load an image, File > Import Assets from the main menu. You can view all assets imported into your project file on the Assets tab. Here is the full list of supported image formats: BMP, JPG, TIFF, TGA, PNG, OpenEXR, PFM, WEBP, and AVIF.
Try Ultraforge Right Now, No Registration Required
We offer a free 30-day fully-functional trial version — you're welcome to download and check it out before purchasing.
Order Ultraforge Now!
Do you feel Ultraforge is worth is price? Don't hold back: order your copy now, prices are subject to change!